


GST Registration Process Step-by-Step in India (Complete Guide 2026)
Step-by-Step GST Registration Process
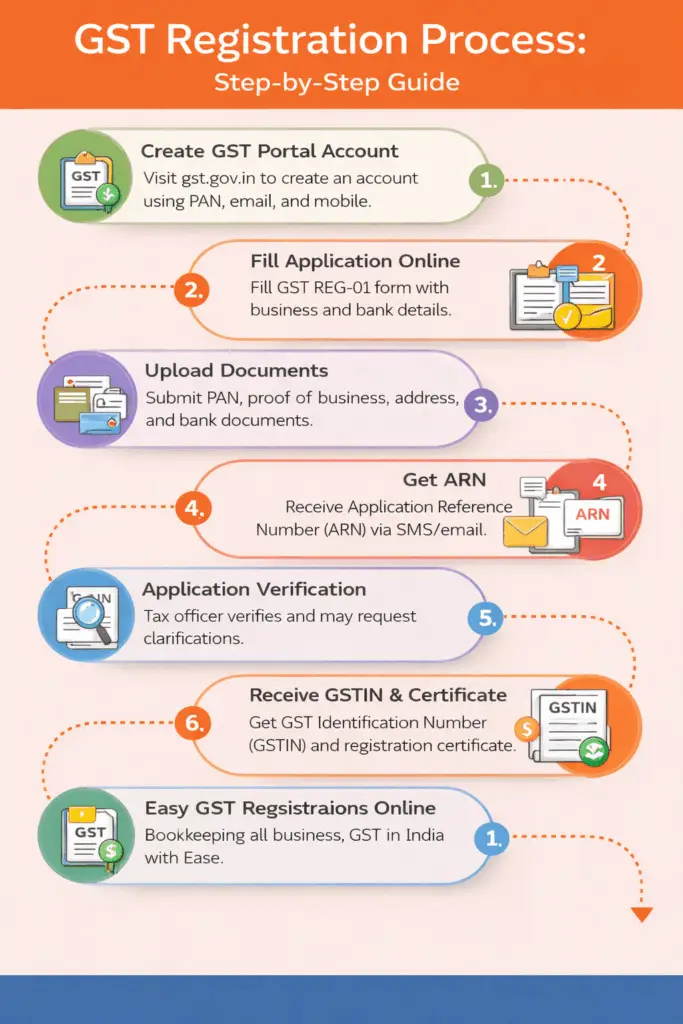
Step 1: Visit GST Portal
Go to the official GST portal and click on “New Registration”.
Step 2: Fill Part A of Application
Provide basic details:
Name of business
PAN number
Mobile number
Email ID
You will receive OTP for verification.
Step 3: Get Temporary Reference Number (TRN)
After verification, a TRN is generated, which allows you to complete the application later.
Step 4: Fill Part B of Application
Login using TRN and complete the application by providing:
Business details
Promoter/partner details
Principal place of business
Bank account details
Upload required documents.
Step 5: Aadhaar Authentication
You may be required to complete Aadhaar authentication for faster approval.
Step 6: Application Verification
Submit the application using:
DSC (Digital Signature Certificate)
EVC (Electronic Verification Code)
Step 7: ARN Generation
After submission, an Application Reference Number (ARN) is generated to track application status.
Step 8: GSTIN Allotment
Once approved, you will receive your GSTIN and GST Registration Certificate.
What is GST Registration?
GST (Goods and Services Tax) is a unified indirect tax levied on the supply of goods and services in India.
After registration, a business receives a GSTIN (Goods and Services Tax Identification Number), which is required for:
Collecting GST from customers
Claiming input tax credit
Filing GST returns
Who Needs GST Registration?
You must register under GST if:
✔ Your turnover exceeds ₹40 lakh (₹20 lakh for services in most cases)
✔ You are involved in interstate supply
✔ You sell through e-commerce platforms
✔ You are required to pay tax under reverse charge
✔ You operate as an input service distributor
Documents Required for GST Registration
Before applying, keep the following documents ready:
PAN Card of business/owner
Aadhaar Card
Business registration proof (if applicable)
Address proof of business place
Bank account details
Photograph of owner/partners/directors
Facing issues while applying for GST?
👉 Get hassle-free GST Registration through Digihunter experts and avoid rejection
Benefits of GST Registration
✔ Legal recognition of business
✔ Ability to collect GST from customers
✔ Input Tax Credit (ITC) benefits
✔ Expansion of business across India
✔ Increased credibility
Common Mistakes to Avoid
❌ Incorrect document upload
❌ Mismatch in PAN and Aadhaar details
❌ Wrong business classification
❌ Not completing Aadhaar authentication
Avoiding these errors ensures faster approval.
The GST registration process step-by-step is simple if you follow the correct procedure and submit accurate details. Proper registration helps businesses stay compliant and take advantage of tax benefits under GST.
Professional assistance can ensure smooth registration and avoid delays or rejection.
Helpful and easy-to-understand guide on GST registration. Thanks for sharing!